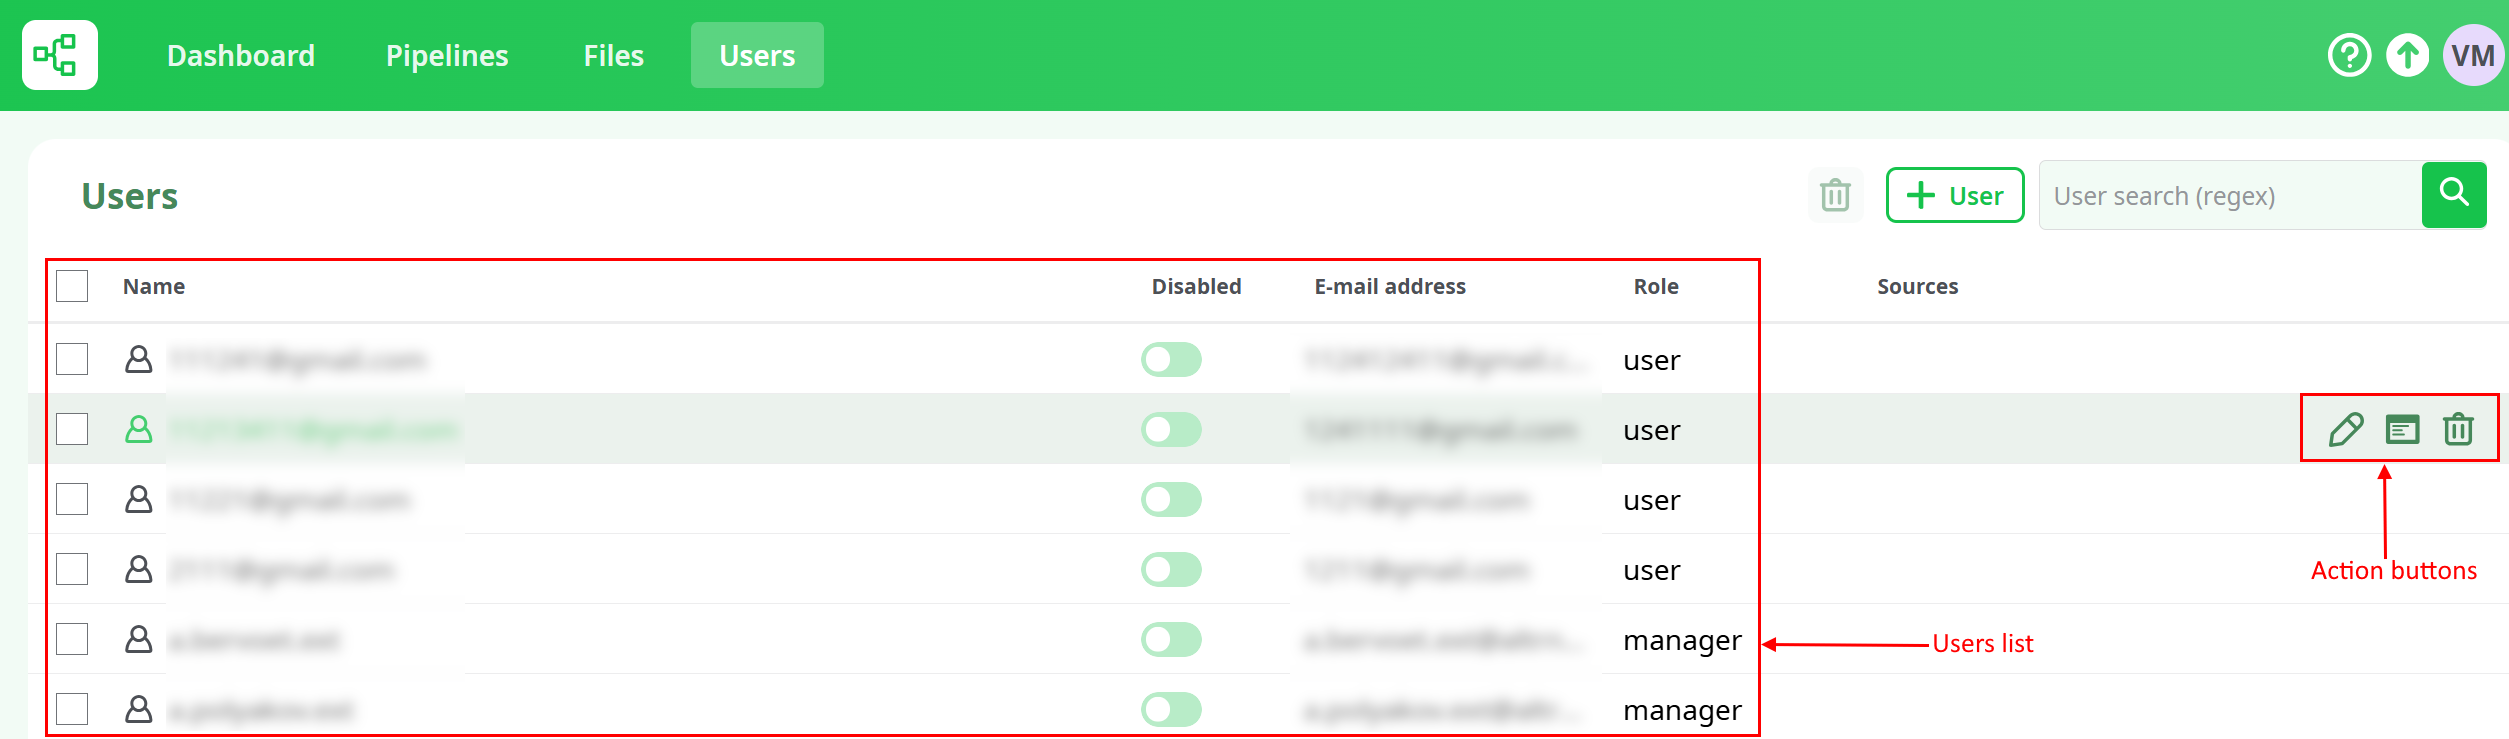
The user tab of the main view allow to manage ETL users and roles. Only Manager profiles can access to this tab.
{width=90% height=90% .align-center}
This view lists all the already registered users and their properties:
- Name : login name.
- Active : activate or deactivate user account.
- E-mail address: self explanatory.
- Role: users profile.
Completed by three actions buttons acessible when the user hovers the mouse over a user list entry:
- Edit: edit user information.
- Log:
- Delete: delete currently selected user
This tab also includes, above the user list in the top-right corner, a button to create a new user,
a search bar to find or filter existing users, and an action button to delete the selected user.
{width=40% height=70% .align-center}
Only Managers have access to the Users tab and can create or edit user accounts.
This section allows adding new users, defining their roles, assigning permissions, and granting access to specific sources.
{width=40% height=40% .align-center}
At the top of the form, the Kerberos account toggle allows enabling or disabling account creation under Kerberos control.
When enabled, it means the new user will be registered as a Kerberos account.
Below the toggle, you must fill in the basic account details:
- User name – unique login identifier for the user.
- Password – login password (required if Kerberos is disabled).
- E-mail address – contact address used for identification and notifications.
{width=40% height=40% .align-center}
The Role field defines the general access level within the ETL platform:
- Manager – has full access to all pages (Dashboard, Pipelines, Sources, and Users). Can create and manage users, delete sources, and configure connections or services.
- User – has access limited by permissions and assigned sources. Cannot manage users or delete sources created by others.
The Permissions section specifies which actions the user can perform and what parts of the platform become available.
- write pipelines – allows creating, editing, and executing pipelines.
- write files – allows uploading and managing files within accessible sources and grants access to the Sources page.
- write actions – allows the use of R, JS, and Python templates to create new scripted boxes using these templates.
- system reports – allows viewing performance and activity reports (if available).
- manage jobs – allows scheduling and managing pipeline executions.
Multiple permissions can be selected at once to combine capabilities based on user responsibilities.
The Sources field determines which data sources the user can access.
If a user creates a source themselves, permission is granted automatically.
Managers can also assign access to existing sources during user creation or edit button.
- The Shared source is public and visible to all users.
- Other sources require explicit access or ownership rights.
After completing all fields, select the appropriate permissions and sources, then press Add to create the account.
The new user will immediately appear in the list and can log in with their credentials.
Users can be deleted in two different ways:
- By the Trash button on the top center of the list. User has to select one or several user(s) by clicking on the checkbox on the left side of list entry then click on Trash button.
- By the Trash button which appears when the user hovers the mouse over a user name in the list. When the user click this button, user is deleted.
{width=90% height=90% .align-center}
Unlike pipelines and files deletion, user deletion is definitive and user can't be restored.
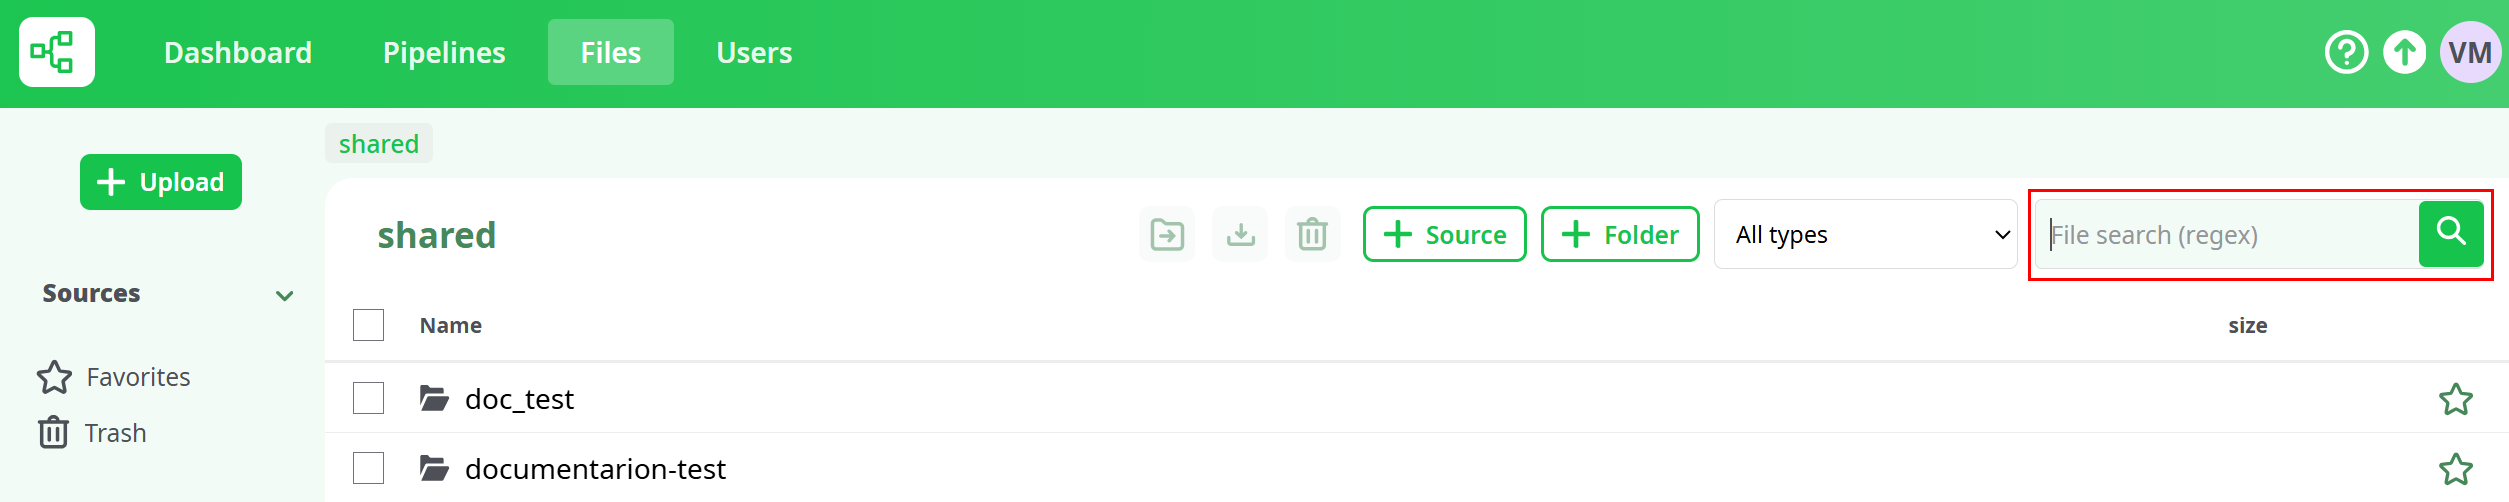
Users can be searched by entering their complete or partial name in the dedicated form at the top center of the view.
{width=90% height=90% .align-center}
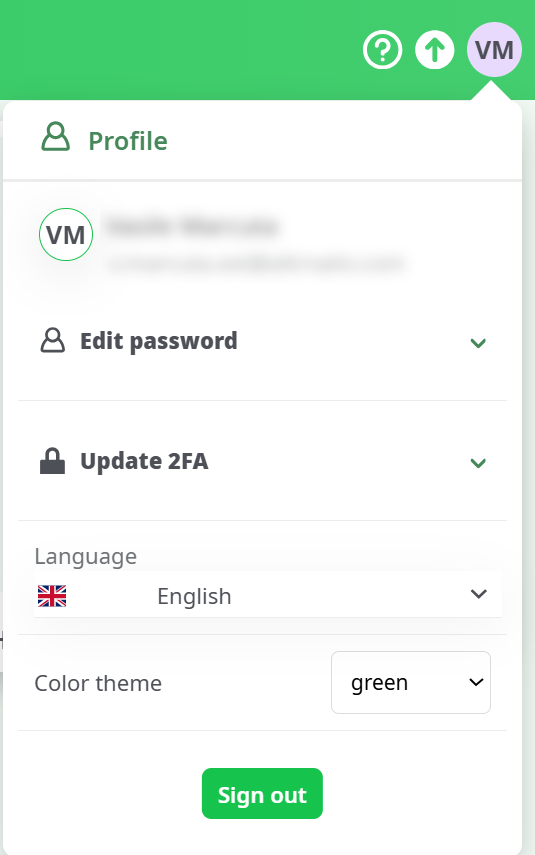
Perfect — here’s a compact and clean section for the User Profile modal, written to match your documentation tone and formatting style.
The User Profile modal can be opened by clicking on the user’s circle icon located in the top-right corner of the interface.
From this menu, each user can manage personal settings and security options.
Available actions include:
- Edit password – change the current account password by entering the old and new one.
- Update 2FA – enable or update two-factor authentication for better security.
- Language – select the preferred interface language.
- Color theme – choose between available interface themes (classic blue, dark blue, green, dark green).
- Sign out – log out from the current session.
{width=40% height=40% .align-center}
Back to home page