¶ Description
Apply a Python model created with ETL.
¶ Parameters
¶ Parameters tab
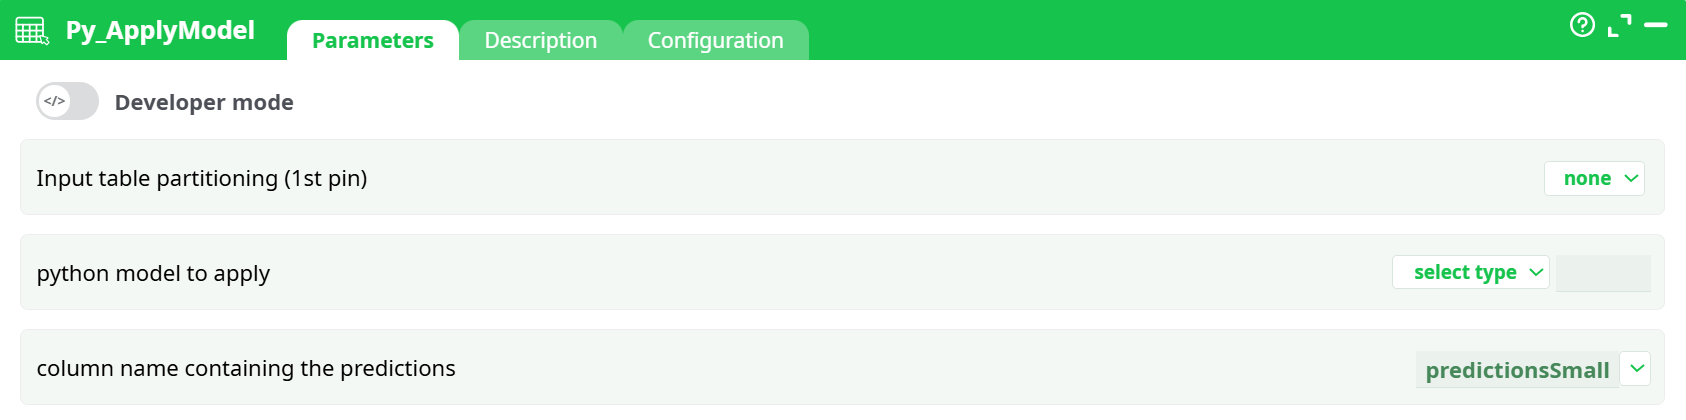
Parameters:
- Input table partitioning (1st pin)
- python model to apply
- column name containing the predictions
¶ Description tab
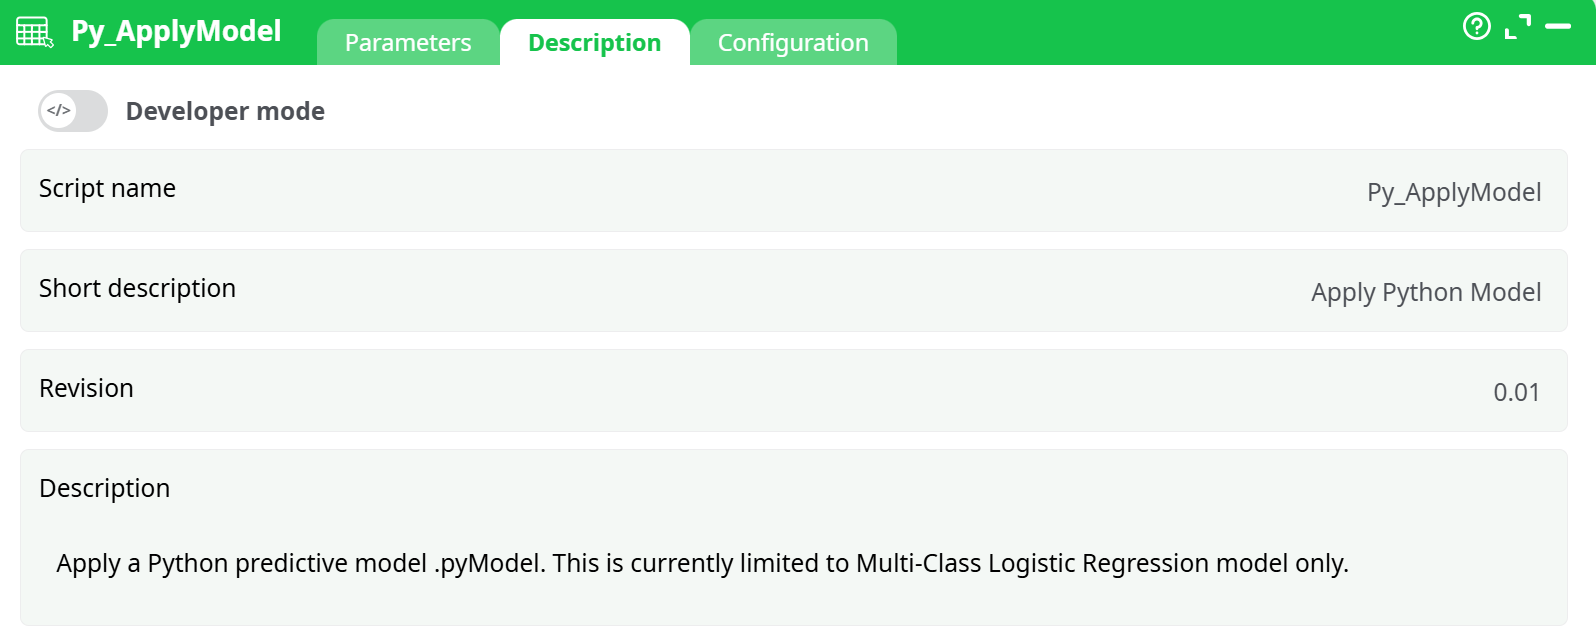
Parameters:
- Script name
- Short description
- Revision
- Description
¶ Configuration tab
See dedicated page for more information.
¶ About
¶ Description Tab
Apply a Python predictive model (.pyModel) to the incoming table (first pin).
Current limitation: models must be Multi-Class Logistic Regression models exported in the .pyModel format.
I/O
- Input: one table containing the feature columns expected by the model.
- Output: the same table with one extra column that contains the predicted class for each row (name is configurable via
column name containing the predictions).
This action loads a serialized Python model (extension .pyModel) and applies it to each row of the input table. The model expects exactly the same feature set and ordering as used during training. Typical uses include scoring batches of events, users, or transactions and adding the predicted class to each row for downstream filtering, KPI computation, or export.
What the component does
- Loads the
.pyModelfile once per partition (or once for the whole table if unpartitioned). - Reads the feature columns from the input, in the order required by the model.
- Computes predictions and writes them to the column given by
column name containing the predictions. - Passes the augmented table to the next node.
Model compatibility
Only models exported as Multi-Class Logistic Regression.pyModelfiles are currently supported. If you trained a different type of model, re-train/export it in the supported format before use.
¶ First-Time Setup / Typical Workflow
-
Train & Export the model
Use your training pipeline (e.g., the companion training action of this family) to produce a.pyModelfile. -
Place the model where the action can see it
- Recommended: put the file under your project’s
assets/folder (e.g.,assets/models/my_model.pyModel). - Alternatively: produce the file upstream (temporary data) or store its path in a recorded parameter.
- Recommended: put the file under your project’s
-
Wire your scoring flow
- Feed the table to score into the first pin of Py_ApplyModel.
- Set
python model to apply→ assets → pick your.pyModel. - Set
column name containing the predictions(e.g.,prediction). - Keep partitioning = none at first; enable it later if data is very large.
-
Run & Validate
- Execute the flow and confirm a new prediction column appears.
- Spot-check a few rows vs. a known reference to ensure feature alignment and expected results.
¶ Tips & Good Practices
-
Feature alignment matters
Make sure the incoming table contains all features the model expects, with the same names, order, and types used at training time. -
Name your output clearly
Use a specificcolumn name containing the predictionslikepredicted_classto avoid accidental overwrites. -
Process at scale
For large datasets, enable Input table partitioning to reduce memory footprint and allow parallel execution (depending on your runtime). -
Version your models
Keep models underassets/models/with semantic versions (churn_v1.pyModel,churn_v2.pyModel) to reproduce results easily.