¶ Description
Bulk upload a table to Snowflake using a S3 bucket.
¶ Parameters
¶ Parameters tab
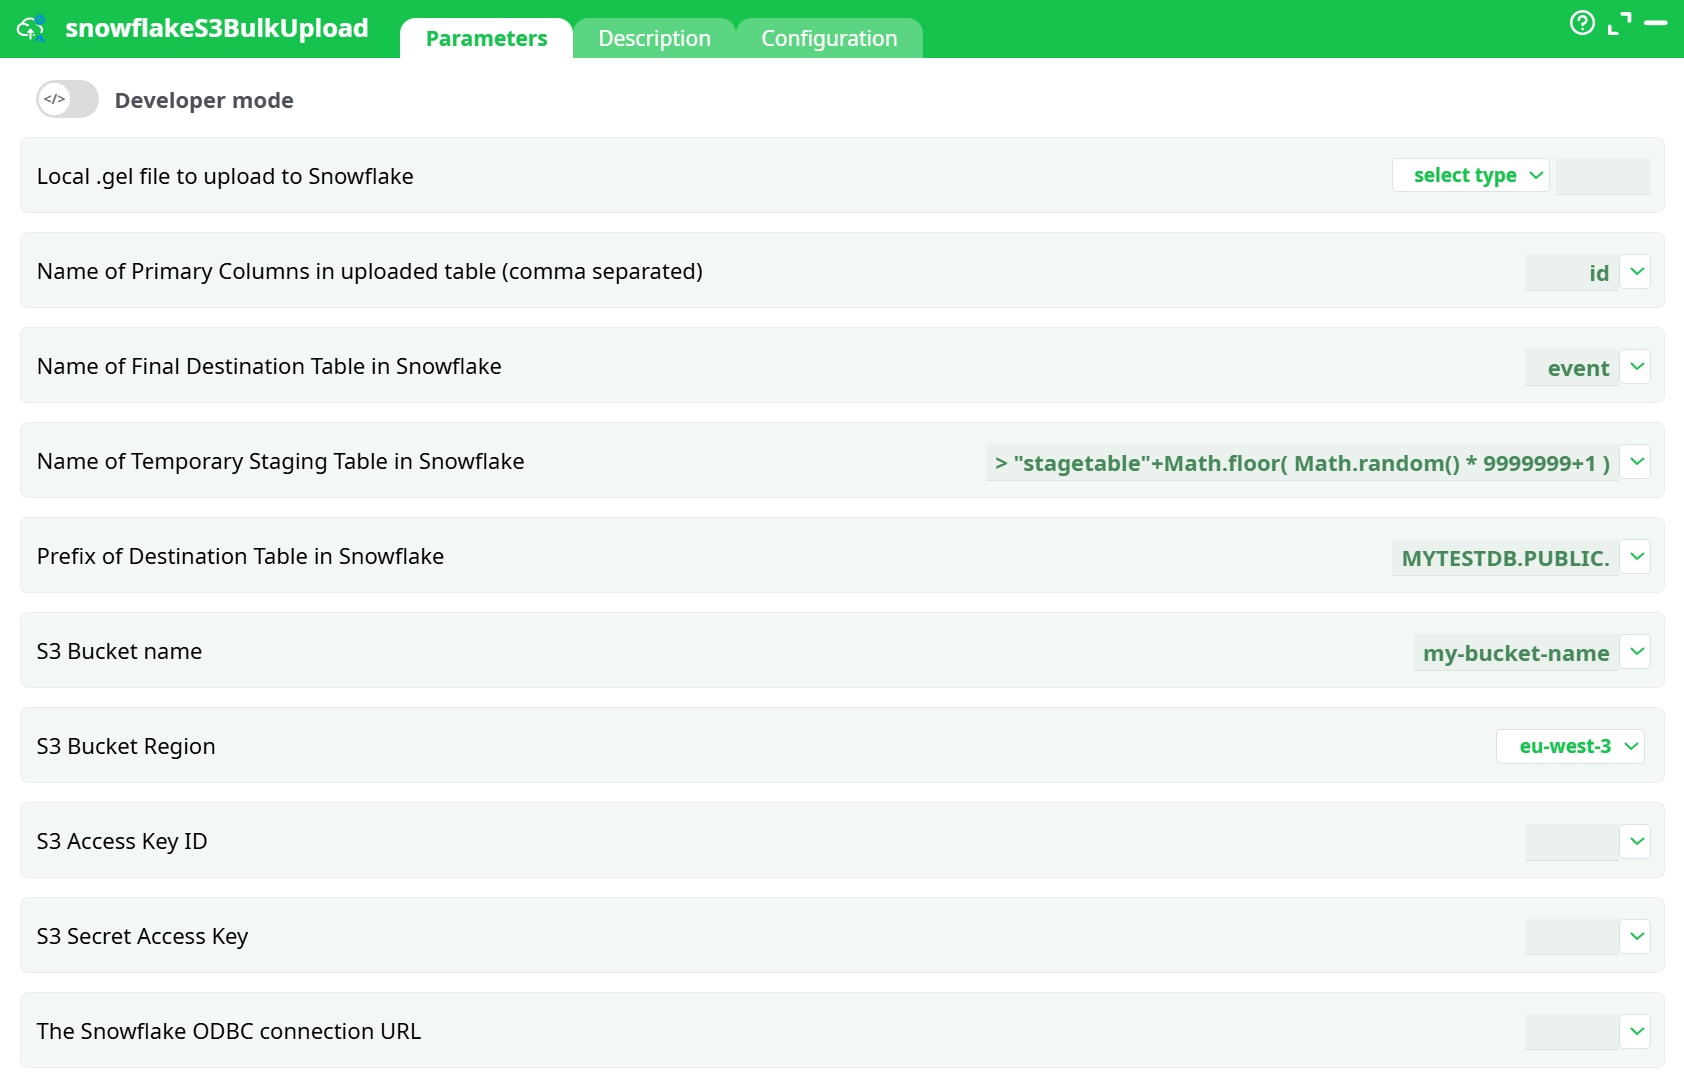
Parameters:
- Local .gel file to upload to Snowflake
- Name of Primary Columns in uploaded table (comma separated)
- Name of Final Destination Table in Snowflake
- Name of Temporary Staging Table in Snowflake
- Prefix of Destination Table in Snowflake
- S3 Bucket Name
- S3 Bucket Region
- S3 Access Key ID
- S3 Secret Access Key
- The Snowflake ODBC connection URL
¶ Description
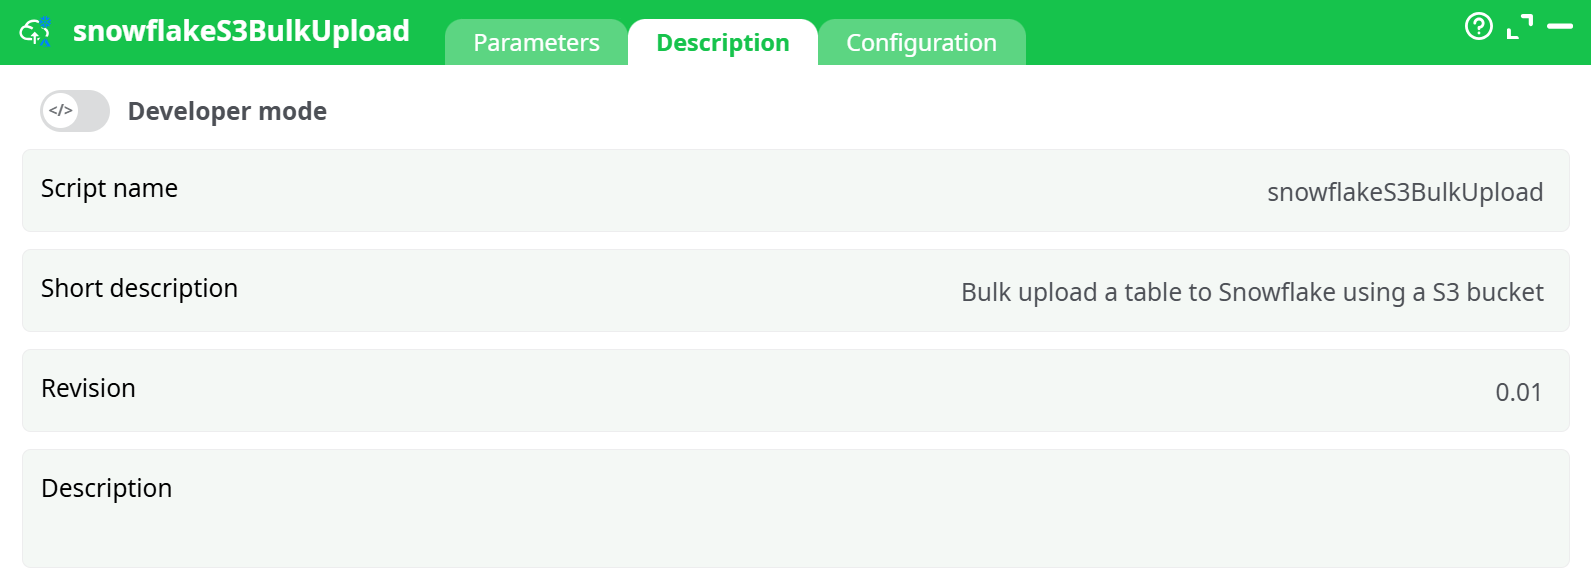
Parameters:
- Script name
- Short description
- Revision
- Description
¶ Configuration tab
See dedicated page for more information.
¶ About
Inserting rows into Snowflake using the standard ODBC connector is extremely slow. For improved performance, use this action, which operates in five steps:
-
Using the user-provided
.gelfile (parameter P1), it creates a temporary CSV file on the local hard drive containing all the data to be copied into Snowflake. -
It uploads the temporary CSV file from the local hard drive to an S3 bucket.
-
It transfers the CSV file from the S3 bucket to a Staging Table in Snowflake (defined by parameter P4).
-
It copies the contents of the Staging Table to the Final Table in Snowflake (defined by parameter P3).
Before the copy begins, it removes from the Final Table all rows that have the same Primary Keys as those in the Staging Table to avoid duplicates. The Primary Key column(s) are specified using parameter P2. -
Cleanup: It deletes the staging table, the CSV file in the S3 bucket, and the local CSV file.
To connect to your S3 bucket, you must provide the following Amazon parameters:
- P6: Bucket Name
- P7: Region
- P8: Access Key ID
- P9: Secret Access Key
To connect to your Snowflake database (in order to run the SQL commands that import data from the S3 bucket), follow these steps:
-
Download and install the ODBC drivers for Snowflake.
You can download the drivers from:
http://download.eu/ODBC/ODBC_drivers_SnowFlake/ -
Obtain the ODBC connection URL for your Snowflake database and enter it as ETL parameter P10.
Instructions to build this URL are available here:
Snowflake ODBC Configuration Parameters
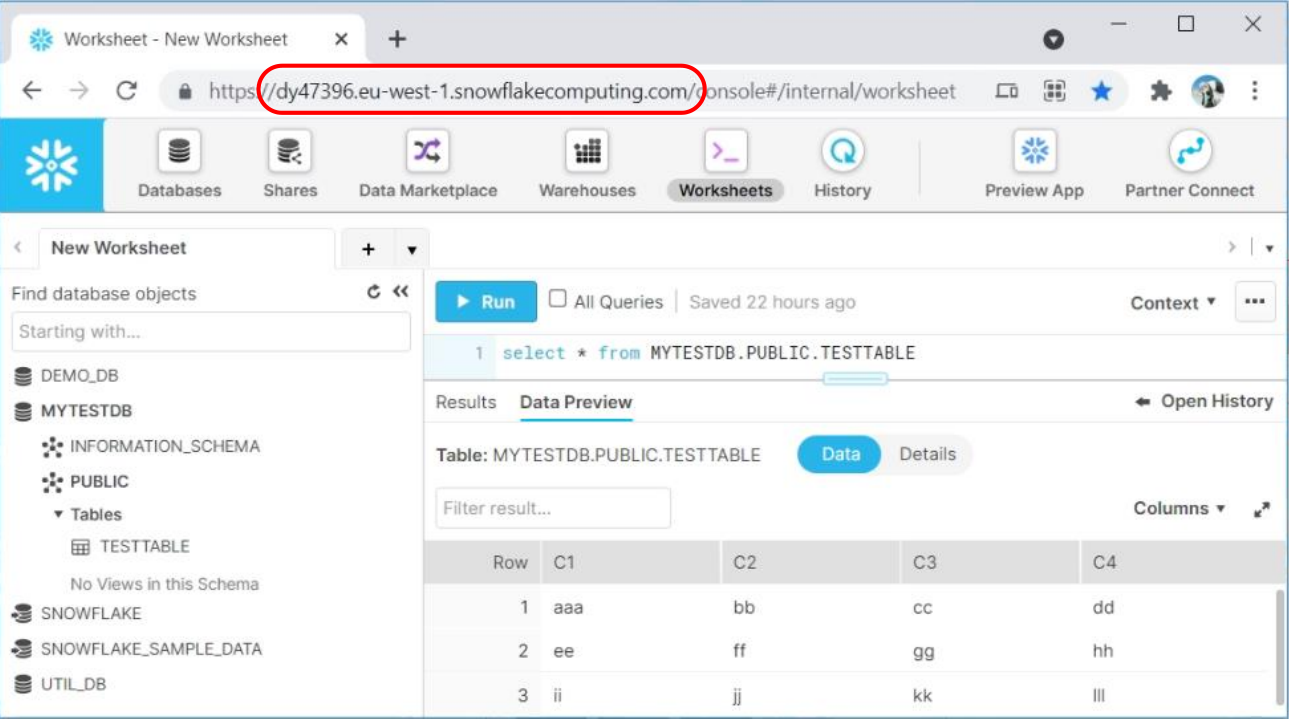
A typical ODBC connection URL looks like this:
Driver={SnowflakeDSIIDriver}; Server=dy47396.eu-west-1.snowflakecomputing.com; Database=MYTESTDB; UID=<my_user>; PWD=<my_password>
To get the value of the “server” parameter inside the above ODBC connections string, you just need to look at the URL used to query your SnowFlake instance: