¶ Description
Apply R-based PCA model.
¶ Parameters
¶ Parameters tab
Parameters:
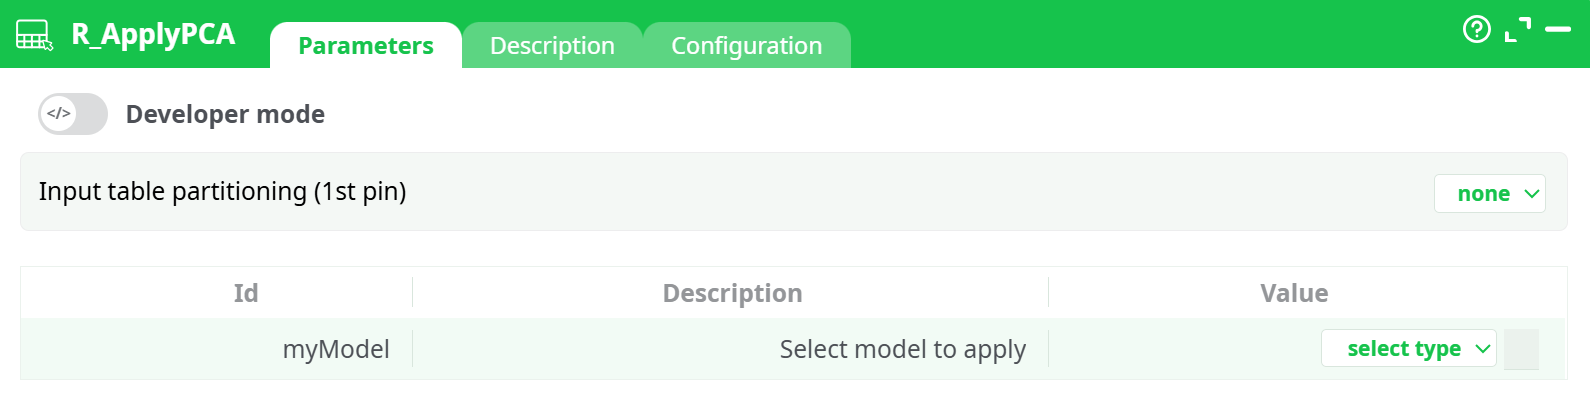
- Input table partitioning (1st pin)
- Select model to apply
¶ Description tab
Parameters:
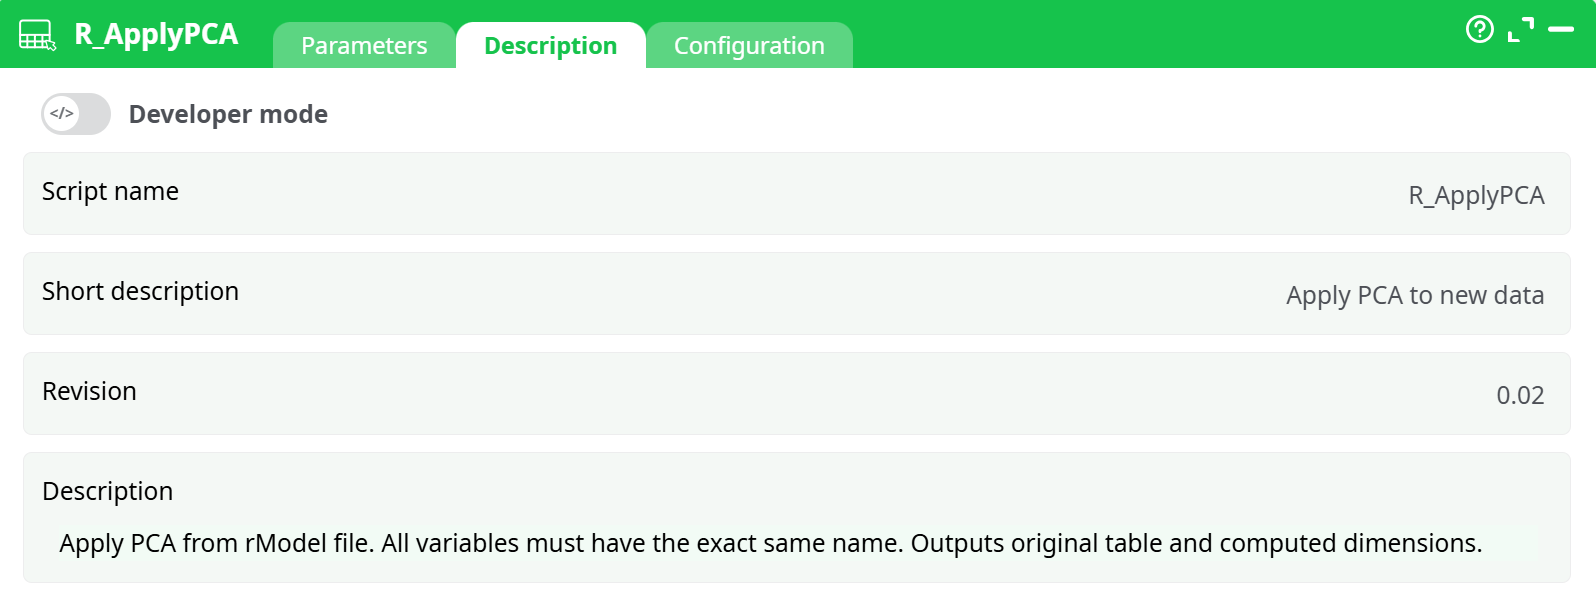
- Script name
- Short description
- Revision
- Decription
¶ Configuration tab
See dedicated page for more information.
¶ About
R_ApplyPCA loads a previously trained R PCA model (.rModel) and applies it to an input table. The action appends the principal component scores to the incoming rows (it keeps all original columns and adds one column per component saved in the model).
From the built-in help: “Apply PCA from rModel file. All variables must have the exact same name. Outputs original table and computed dimensions.”
Why use it
- Works with any partition type (row, column, or none), so you can score datasets larger than RAM.
- Lets you productionize PCA-based features trained elsewhere (e.g., with your PCA training action in R).
¶ Inputs & outputs
- Input pin (table): data to transform. The table must contain exactly the same feature columns (names & compatible types) used when training the PCA.
- Model file: an
.rModelproduced by your PCA training step (e.g., an “R_PCA / Train PCA” action).
Output
- One table: original columns + PCA scores. Component column names come from the model (e.g.,
PC1, PC2, …orDim.1, Dim.2, …).
¶ Parameters
¶ Input table partitioning (1st pin)
Choose how the input is partitioned for processing:
- none (default) – process as is.
- fixed number of lines (excluding last) – split by row count.
- by column – split using a partition column (requires sorted input; see config option below).
Tip: Use by column when upstream you already shard data by a key (e.g., customer_id) and want independent, parallel application.
¶ myModel — Select model to apply
Click select type and point to your .rModel:
- assets – a model packaged with the pipeline (recommended for stable deployments).
- recorded data – a model generated earlier in the same pipeline run and stored in the records/ area.
- temporary data / JavaScript expression – advanced/ephemeral cases.
¶ Requirements & compatibility
- Column names must match the training dataset (case-sensitive).
- Types must be compatible (e.g., numeric vs string). If your training flow recoded/standardized features, apply the same preprocessing upstream before
R_ApplyPCA. - The model must be a PCA rModel created with the corresponding training action in R.
¶ Typical workflow
- Train PCA on a representative dataset (e.g., with your “Train PCA” R action). Save/export the
.rModel. - Prepare production data with the same cleaning, encoding, and ordering as training.
- Drop R_ApplyPCA, connect the table, and set myModel to the saved file.
- (Optional) Choose by column partitioning and enable Allow parallel execution for speed.
- Run: downstream you now have PCA features (
PC1…PCk) ready for modeling or analytics.
¶ Column naming & schema
- Component columns are appended to the right of your existing schema.
- Names & count come from the model (e.g., if the model saved 10 components, you’ll get 10 score columns).
- Use a Select/Project action next if you want to keep only the PCs or to rename them with your house style.
¶ Performance notes
-
This action streams and partitions; it does not need to load the entire dataset into RAM.
-
Best speed:
- partition by column (keyed shards),
- enable Allow parallel execution,
- keep Shared memory size modest unless you have very wide rows.
-
Ensure I/O (disks/network) can sustain the parallelism you configure
¶ Troubleshooting
- “Variable not found / mismatched names” → Ensure all training columns are present with exact names. Check upstream renames and casing.
- All PCs are NA/zero → Data wasn’t preprocessed the same way as training (e.g., missing standardization, different encodings). Reuse the same prep flow.
- Order errors in column partition mode → Turn on Check that input table is sorted and sort upstream by the partition column.
- Unexpected negative integers → Use If integer negative = set to 0 or correct the upstream type mapping.
- Model not found → Verify myModel points to the right assets or recorded data path; if the model is produced in the same run, make sure its action executes before
R_ApplyPCA.
¶ Good practices
- Keep an ID column in the stream so you can always re-join back to the source after PCA.
- Version your
.rModelin assets/ and document the training data & parameters (date, features, scaling). - If you retrain PCA, consider pinning both the model and a data dictionary describing the expected input schema.